Below you can find sample 360/3D photos created using the techniques taught in my course on Udemy.com. All of these photos were taken by hand (i.e. no tripod). Some of them were done fairly early in the process of developing the techniques, while others are more recent. Also, because my focus in creating these was primarily on improving the technique of achieving a 360/3D result, some images have gone through more processing steps than others. For example, in some I’ve removed both the cameras and the rig, in some I’ve removed myself as well, and in some I’ve removed only the cameras.
Anaglyphs
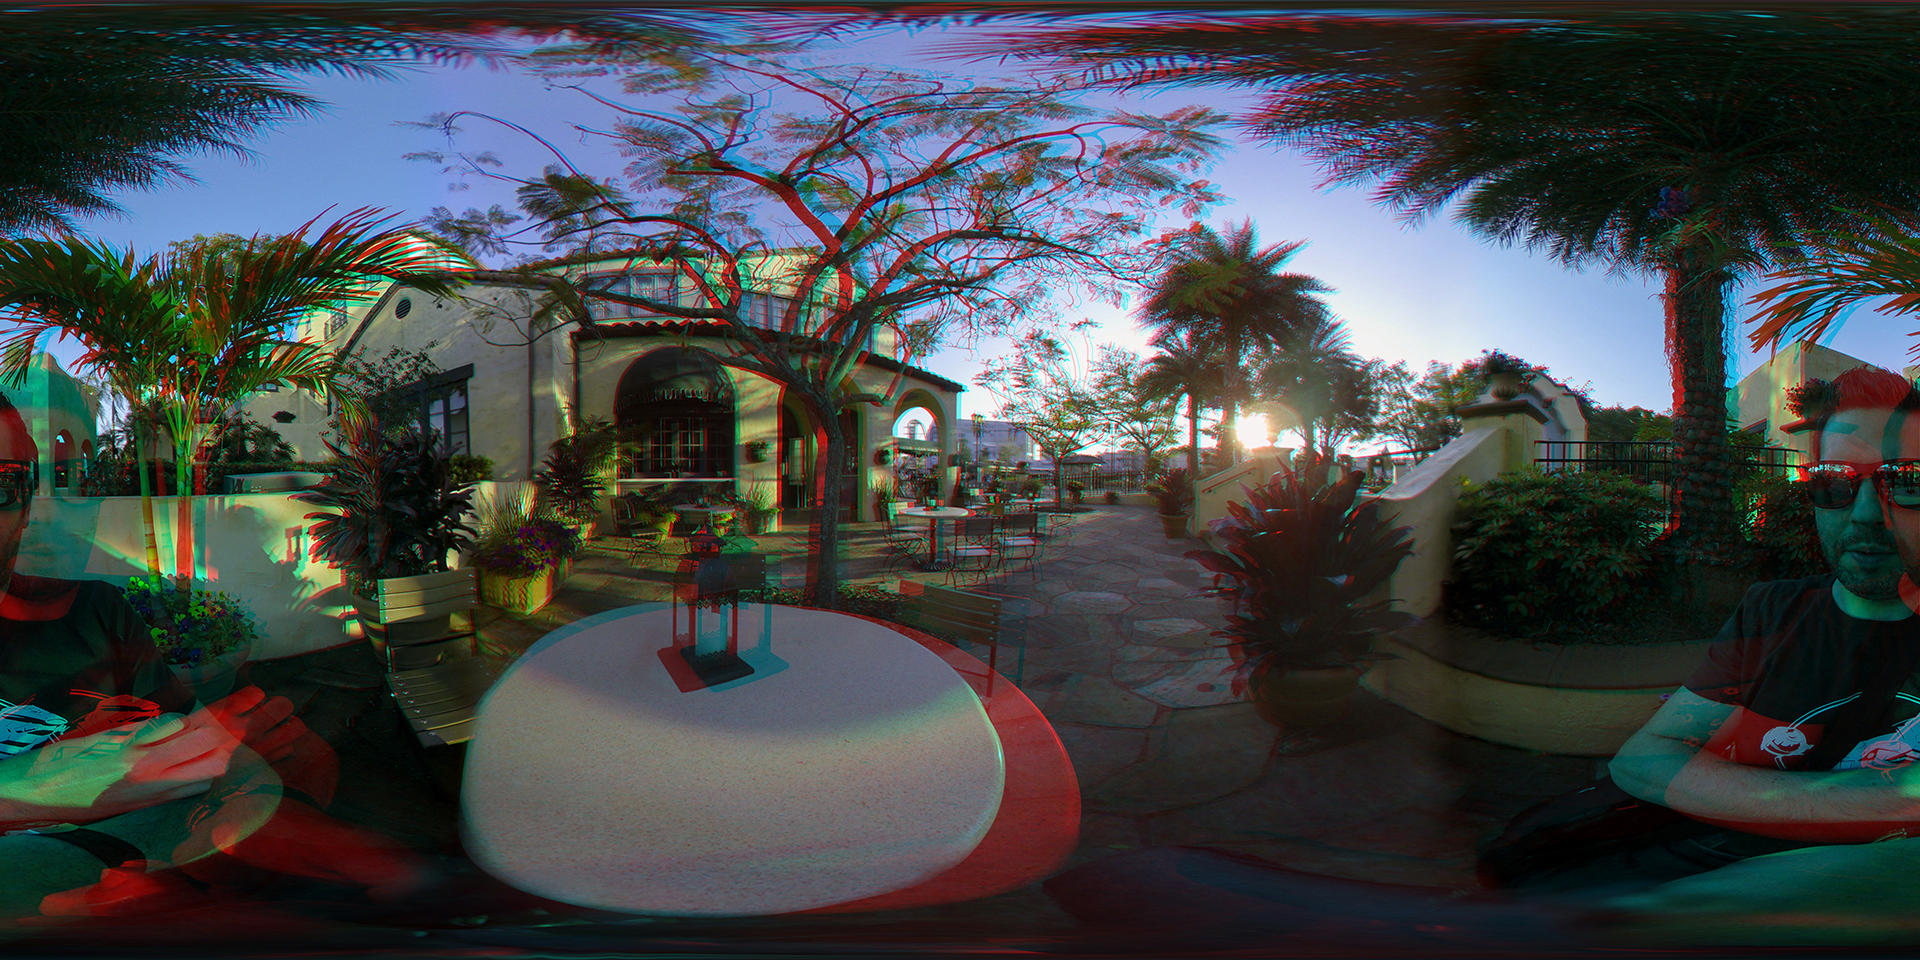
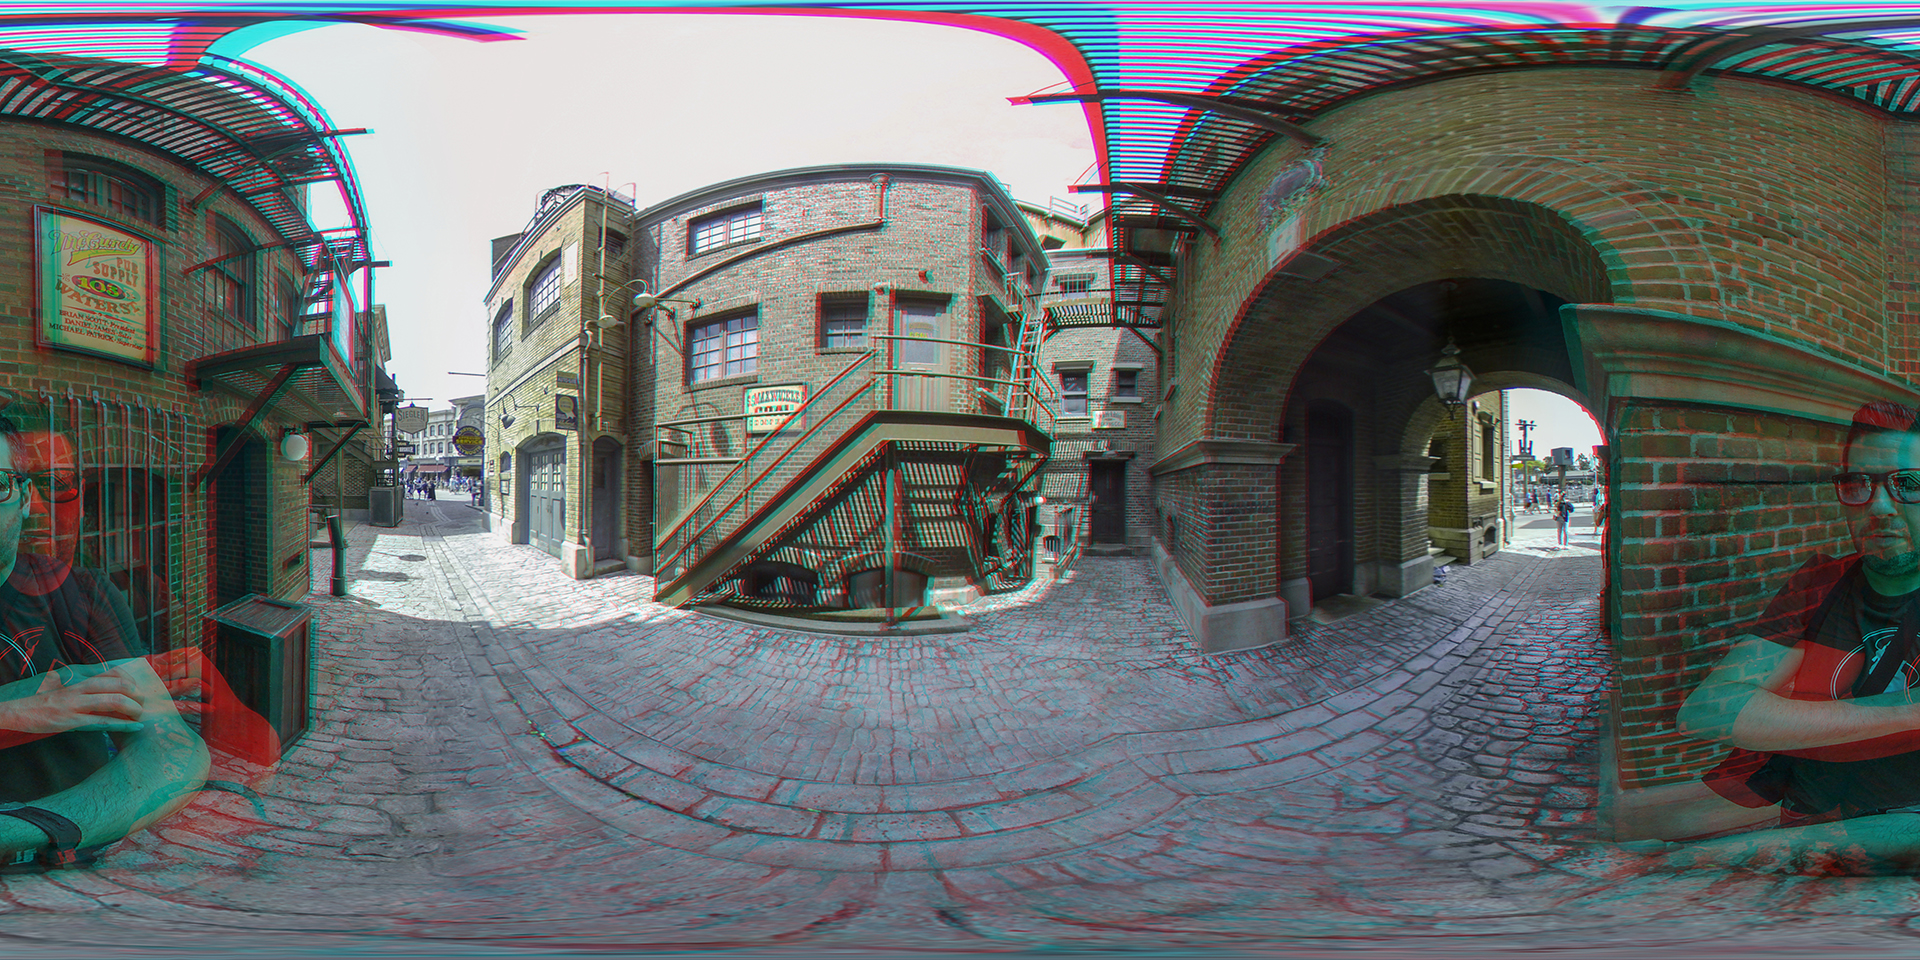
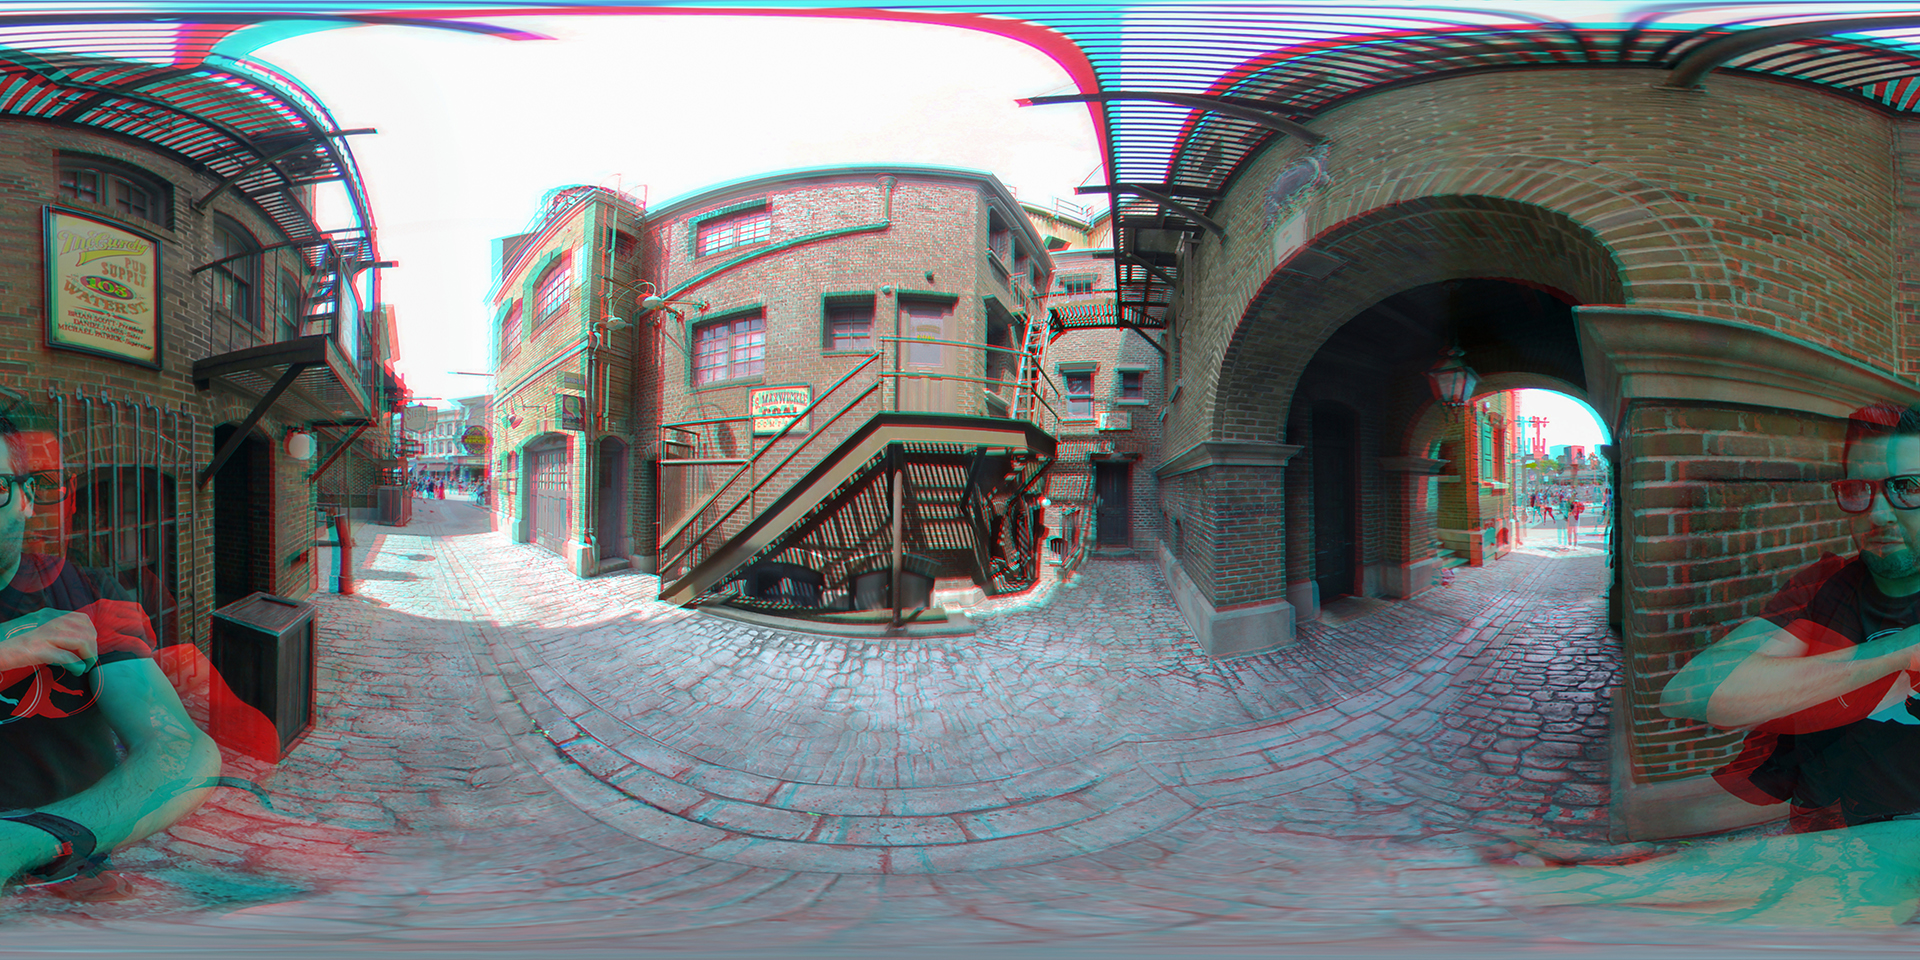
Click an image view the larger version in a new tab.
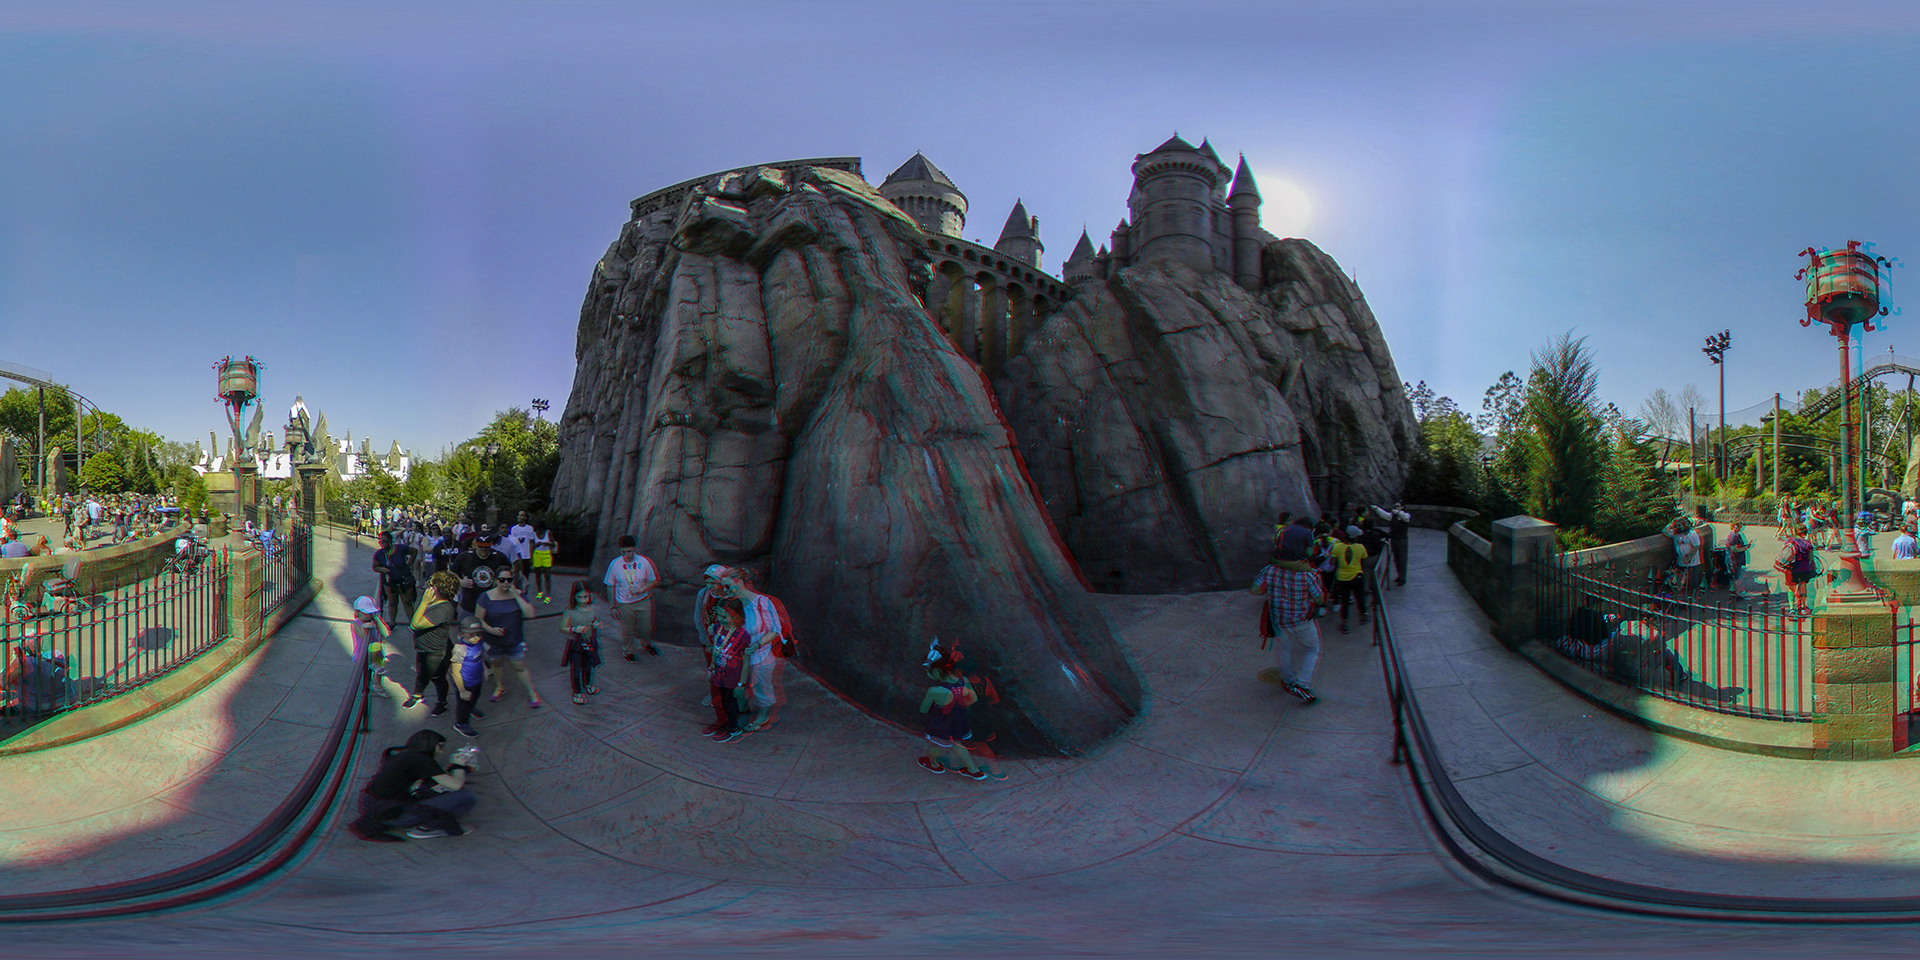
Removed cameras, rig and myself.
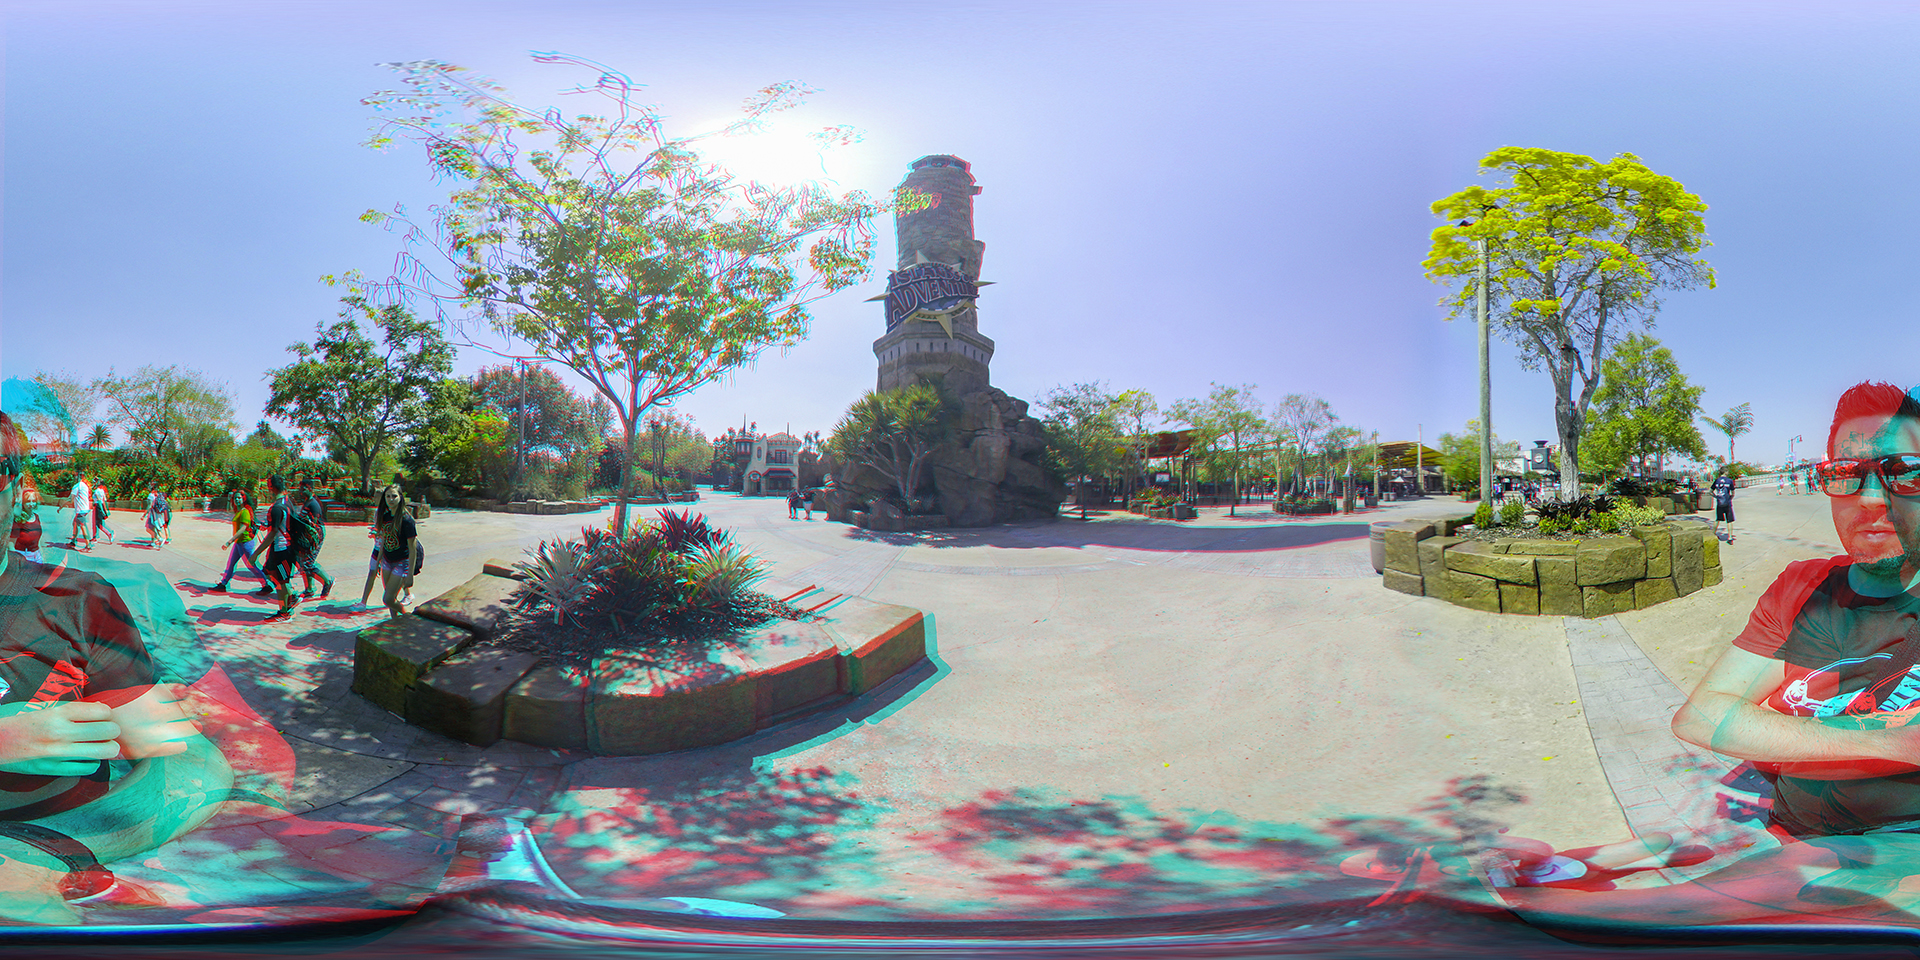
First successful use of technique. Removed cameras.
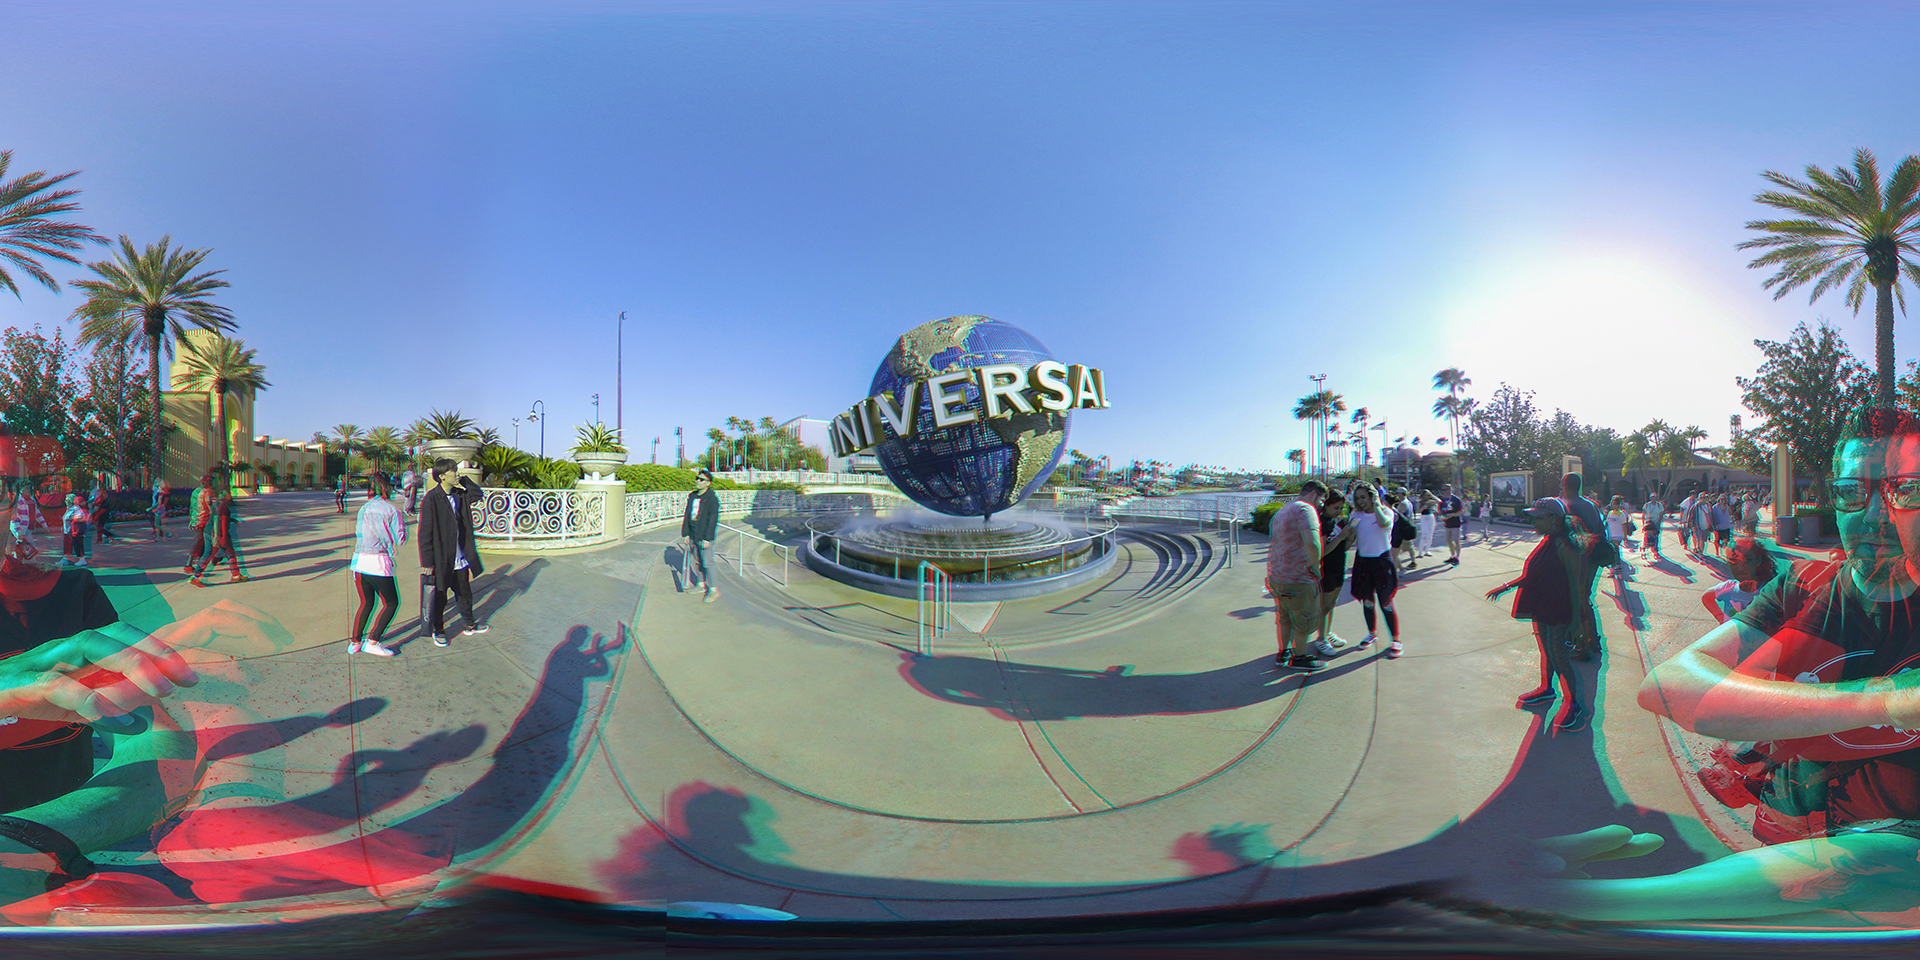
Early sample. Removed cameras.
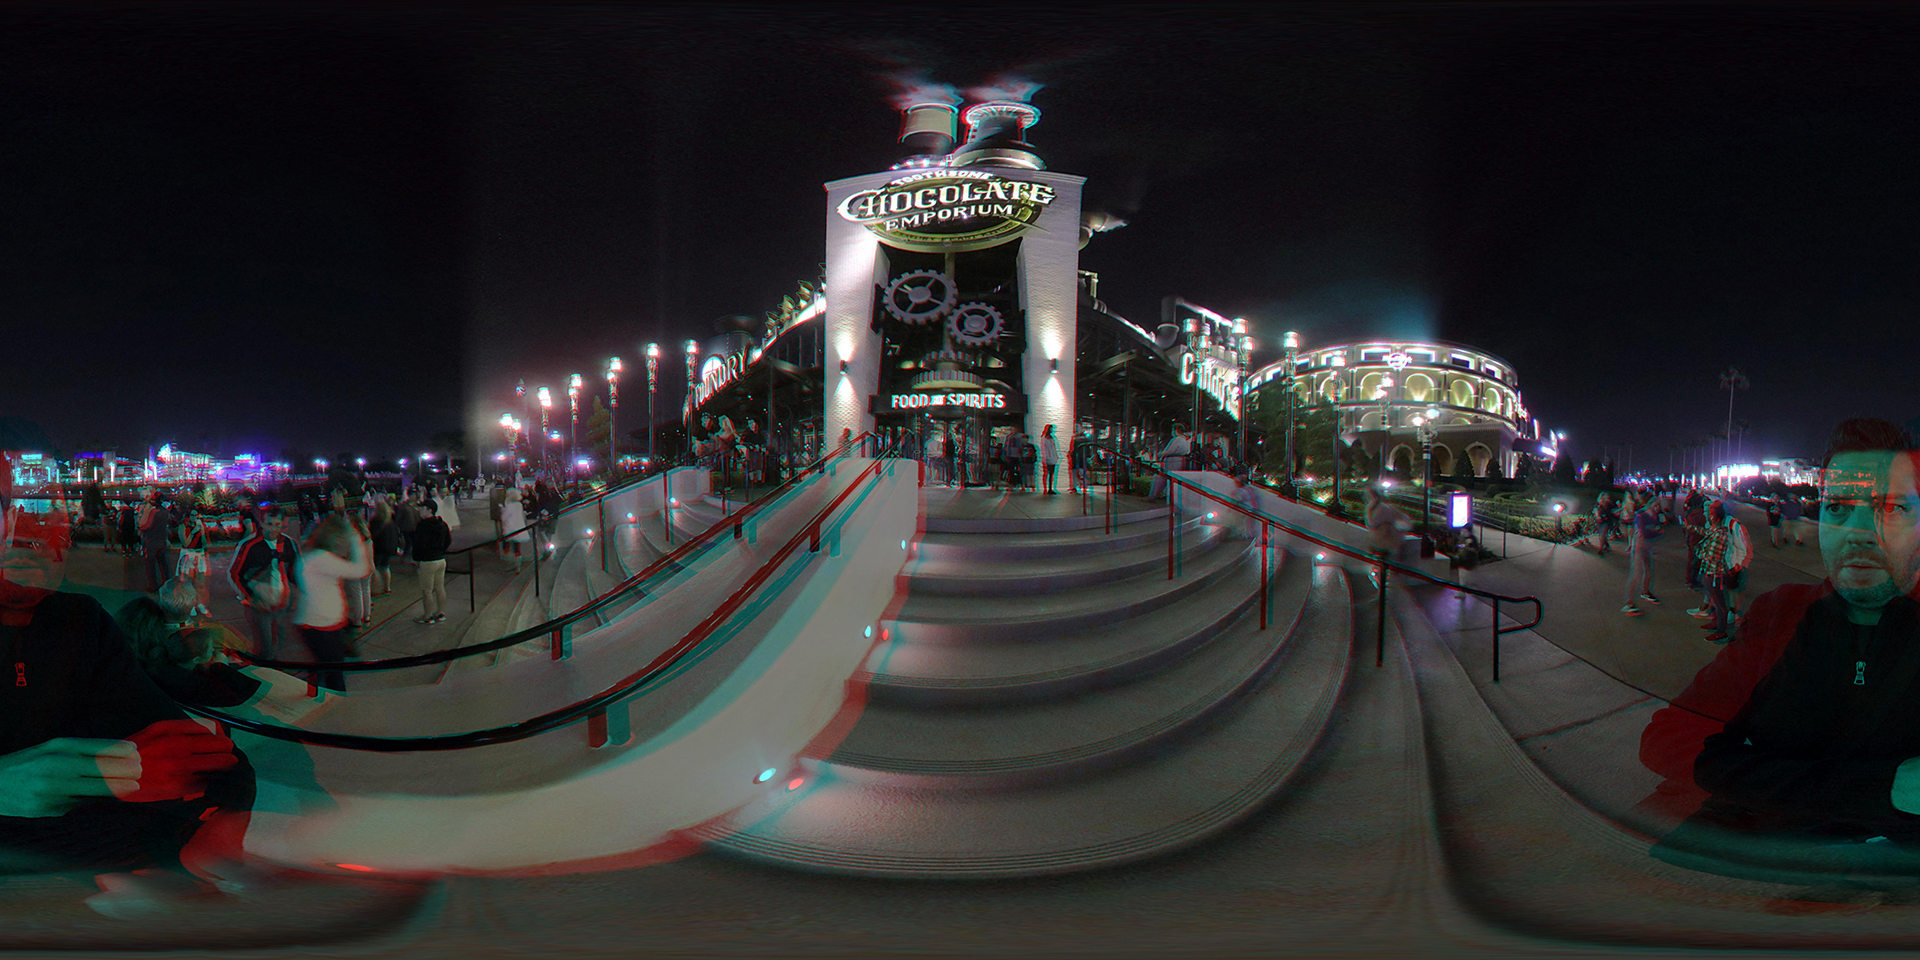
I did not like this HDR technique so I’ll have to revisit this with Exposure Blending as taught in the course, but it’s good for showing a lot of motion. Removed cameras and rig.
Looks dark in anaglyph. Optimized to look natural on Headset. Removed cameras and rig.
This is the image we’ll be creating in the course. Removed cameras and rig.
Earlier version of the image above with depth map additions. Depth map techniques will be covered in a coming update to the course. Removed cameras and rig.
Over/Under for VR Headsets
Click an image view the full-size version in a new tab. Test on a VR headset. These images have been sharpened using Sharpen AI by Topaz Labs.
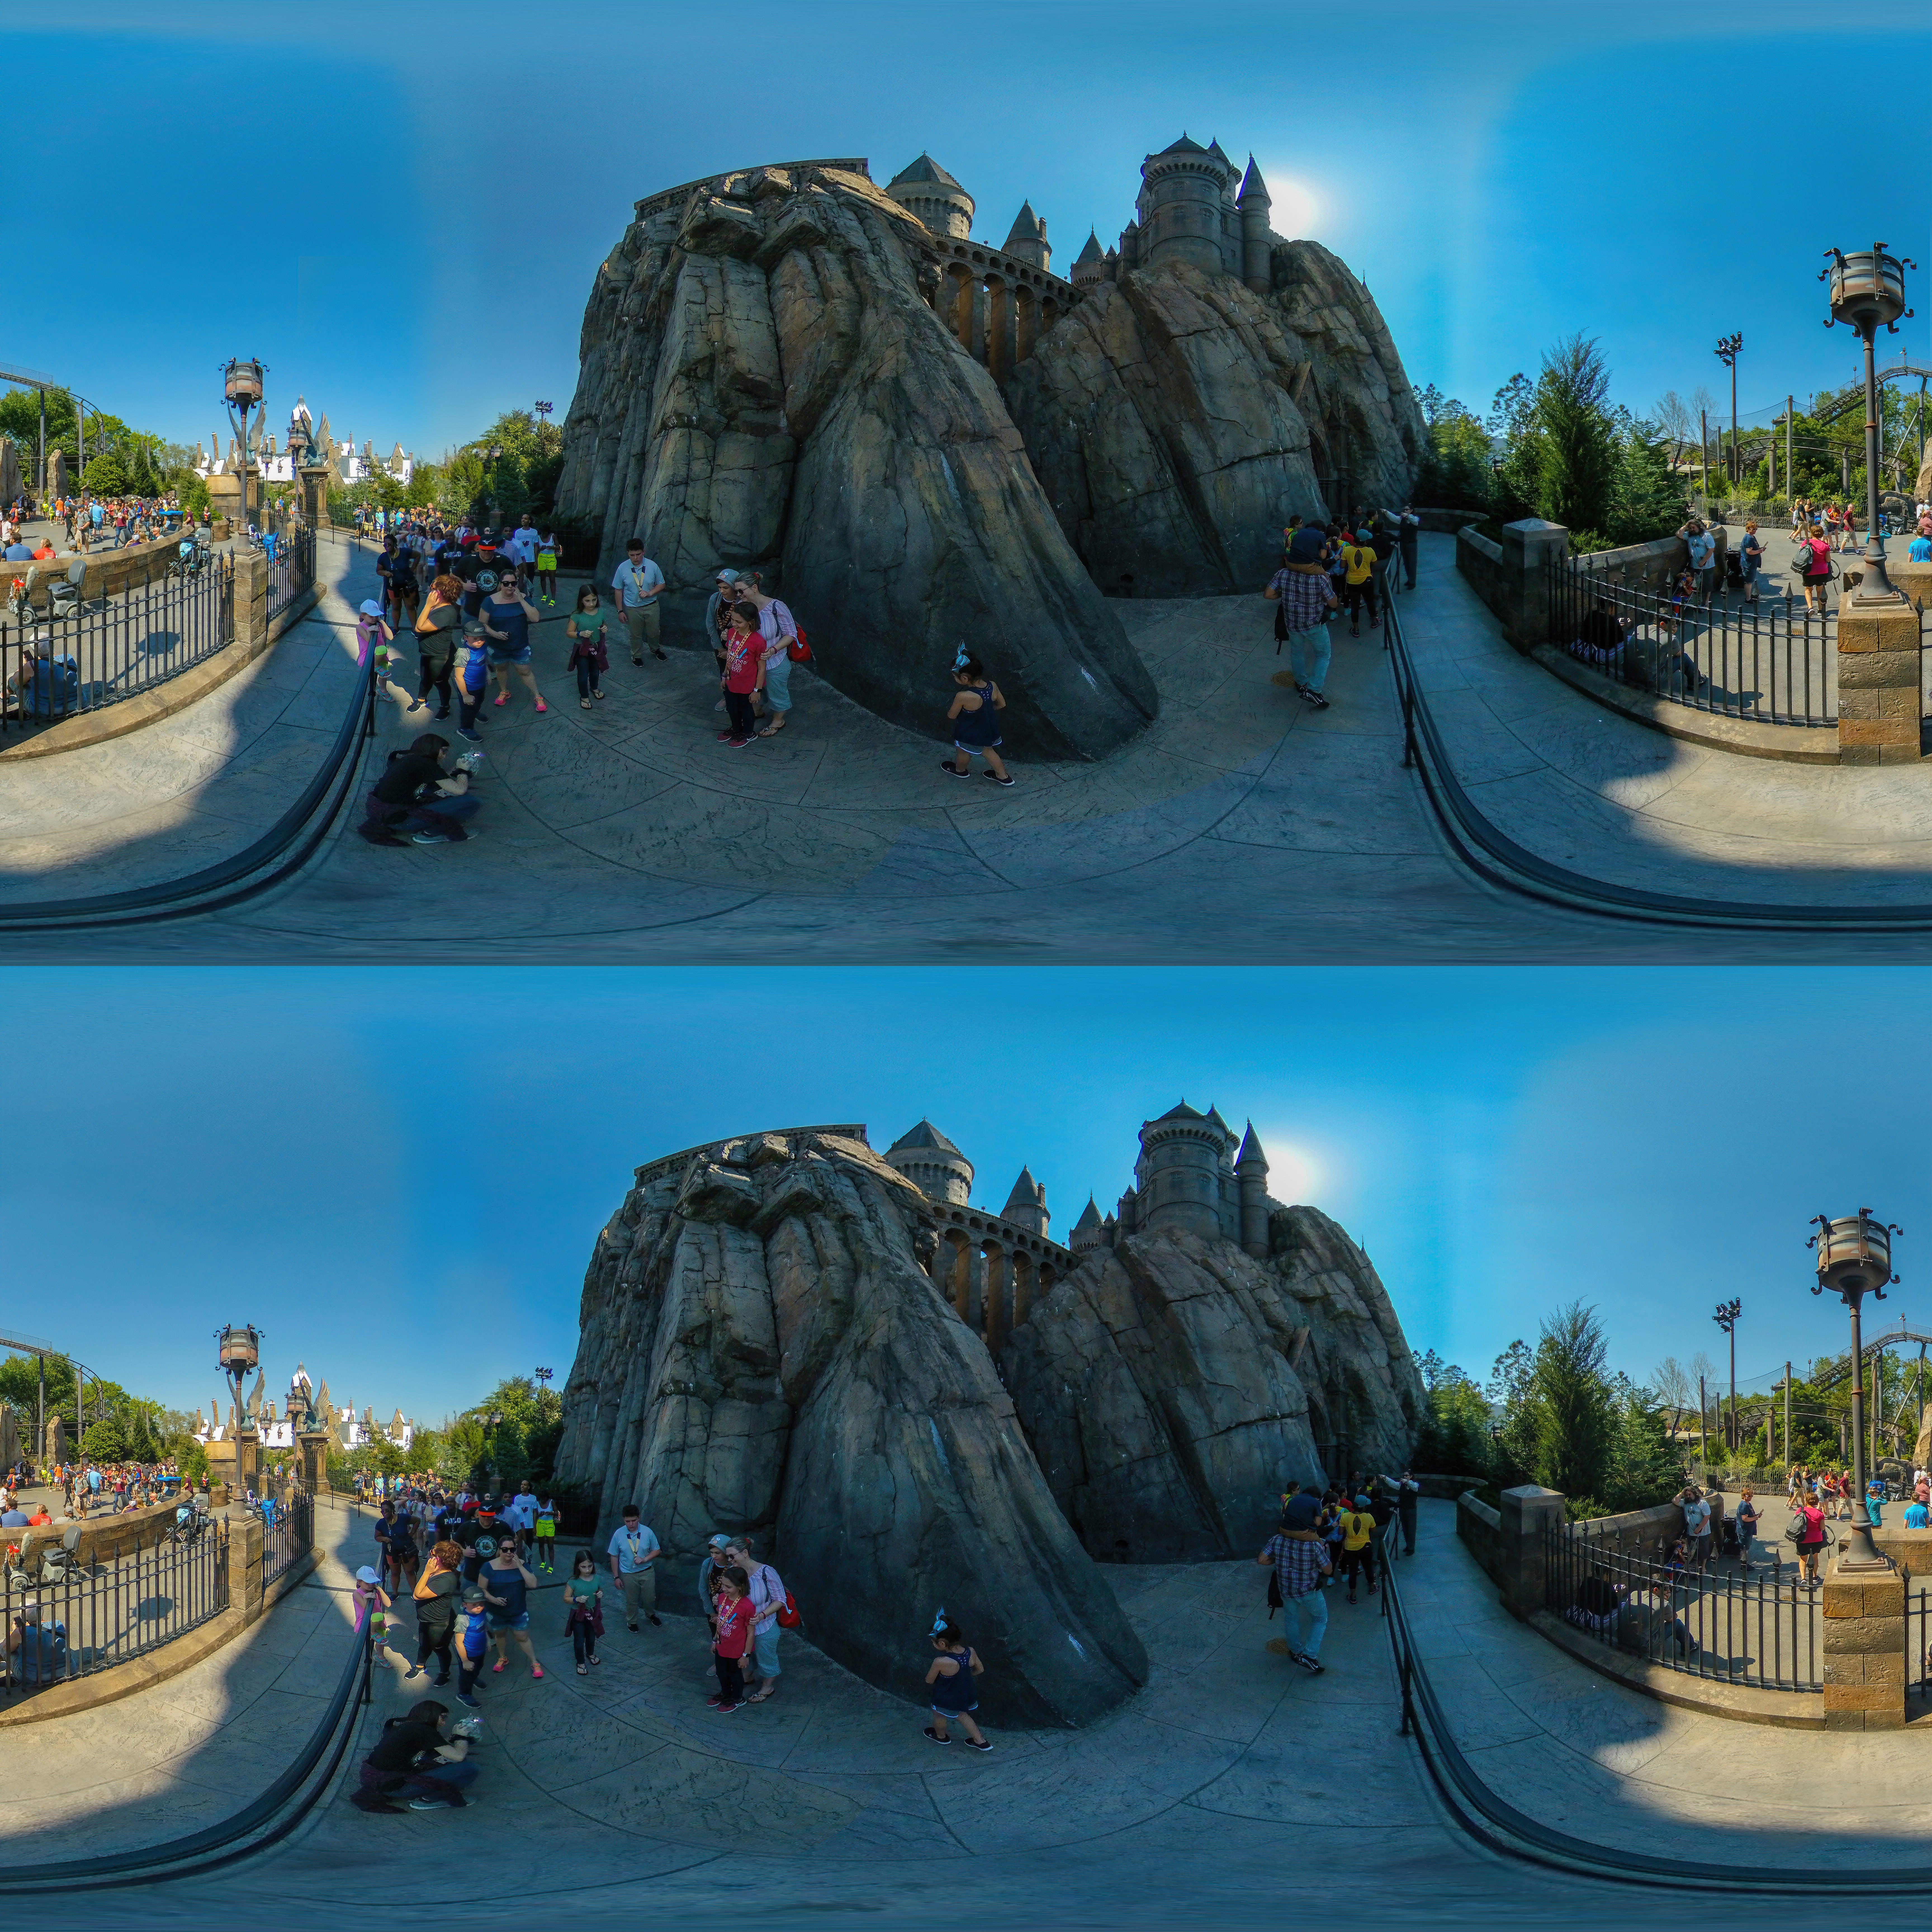
Removed cameras, rig and myself.
Early sample. Removed cameras.
I did not like this HDR technique so I’ll have to revisit this with Exposure Blending as taught in the course, but it’s good for showing a lot of motion. Removed cameras and rig.
Removed cameras and rig.